Destiny 2 operation: seraph's shield activity guide: how to solve all Destiny 2 seraph shield schematic Weapon schematic location pt 4 (4th exo)
Weapon Schematic Operation Seraph Shield
Destiny 2 exotic mission operation seraph shield: every weapon ranked Operation seraph's shield weapon schematic Operation seraph's shield schematic
Seraph shield weapon schematic
How to get through blocked lasers in destiny 2 operation: seraph's shieldWeapon schematics seraph shield Revision zero weapon schematic locationsDestiny 2: lightfall introducing exotic mission rotator for season 22.
Weapon schematic operation seraph shieldOperation seraph's shield weapon schematic Seraph shield weapon schematicsWeapon schematic location week 1.

Operation seraph's shield schematic
Seraph shield weapon schematic locationSeraph's shield weapon schematic Revision zero weapon schematic locationsOperation: seraph's shield.
Seraph shield weapon schematic locationDestiny 2 operation: seraph's shield puzzles and activity guide Operation: seraph's shieldWeapon schematic location guide.

Destiny 2 operation seraph's shield walkthrough
Destiny 2: how to get the revision zeroWeapon schematic location should you choose to accept it part 3 Weapon schematic location pt 3 (3rd exo)All 4 weapon schematic location guide.
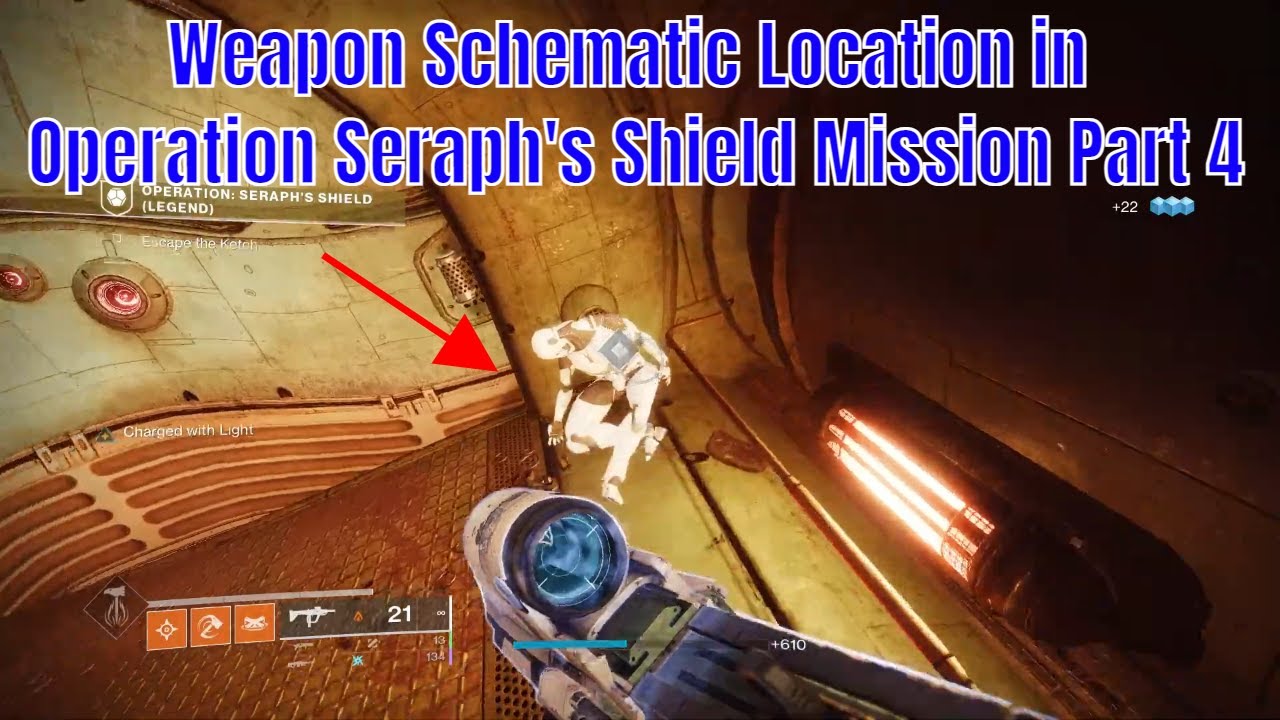
Weapon schematic location should you choose to accept it part 4Operation seraph's shield weapon schematic Should you choose to accept it part 4 schematicShould you choose to accept it part 4 schematic.

Seraph shield legend weapon schematic
.
.

Weapon Schematic Operation Seraph Shield

Weapon Schematic Location Guide - Operation Seraph’s Shield - Should

Weapon Schematic Location Pt 3 (3rd Exo) - Operation: Seraph Shield

Operation Seraph's Shield Schematic

Operation Seraph's Shield Weapon Schematic

Destiny 2 Operation: Seraph's Shield Puzzles and Activity Guide - Pro

Should You Choose To Accept It Part 4 Schematic - Heat exchanger spare

Revision Zero Weapon Schematic Locations - Destiny 2: Season Of The Seraph

